Camp Mug Materials Comparison
A practical step-by-step guide to camp mug materials comparison, including preparation, instructions, common issues, tips, and next steps.
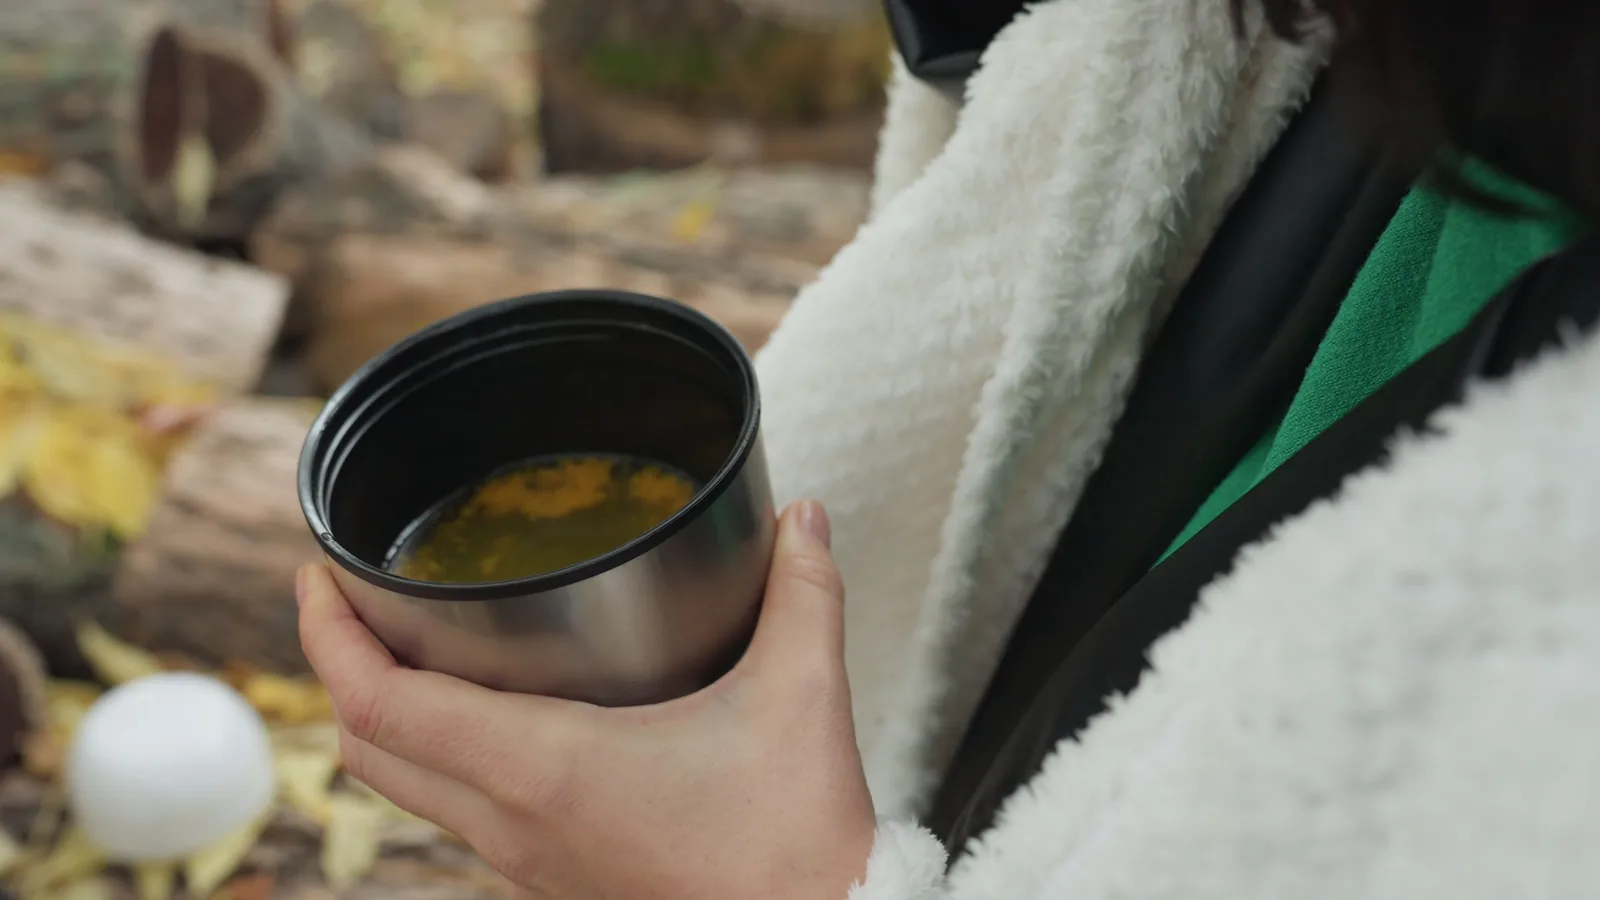
Camp Mug Materials Comparison
Choosing a camp mug is really a materials decision, because the material determines how hot drinks behave, how much the mug weighs in your pack, how it feels on your lips, and how long it survives rough handling. This guide walks you through common materials such as enameled steel, stainless steel, titanium, aluminum, ceramic, and plastic, then shows you how to match a mug to your stove, your packing style, and your cleaning routine. You will run simple home tests, inspect seams and coatings, and learn which checks matter before you trust a mug on a cold morning.
Fast Answer
- Pick stainless steel for a durable all-round mug, titanium for the lightest carry, enameled steel for a classic feel, and plastic only for cold drinks unless the maker clearly states it handles heat.
- Before buying, check the rim shape, the lid fit, the handle size for gloves, and whether the mug fits your stove, cup holder, or pack pocket.
Before You Start
- Gather two or three mugs you already own plus a kitchen scale, a thermometer, a timer, and a pen so you can compare weight, heat retention, and rim comfort on the same day.
- Write down how you will use the mug most often: sipping coffee at a campsite, drinking from a hammock, boiling water for meals, or carrying tea on a day hike.
- Check your stove, pot set, and pack pockets with a ruler or a soft tape measure so you know the widest base and tallest body that will still fit your setup.
- Read the care instructions that came with each mug and note whether the maker allows hot liquids, dishwashing, direct fire, or abrasive scrubbing.
Step-by-Step Instructions
Sort mugs by base material
Start by grouping your candidate mugs by what they are actually made of. Enameled steel has a glass-like coating over steel, stainless steel is usually a single or double wall of steel, titanium is a very light metal, aluminum is light and soft, ceramic is clay fired hard, and plastic covers many different resins. Read the label or product page and write the material on a sticky note for each mug. This order matters because every later test, from heat retention to rim feel, depends on the base material. As a practical check, tap the mug gently and look at the rim and interior for chips, scratches, or exposed metal. That check matters because a damaged coating or a deep scratch can change how the mug performs and how easy it is to clean, so you want to know the true condition before you compare anything else.
Weigh each mug empty and full
Use a kitchen scale to weigh every mug empty, then fill each one with the same amount of water and weigh it again. Record both numbers in a simple table. The empty weight tells you the pack cost, and the full weight tells you the carry cost on the trail. This step belongs after material sorting because two mugs of the same material can still differ a lot in thickness and handle design. As a practical check, hold each full mug by its handle for a slow count of thirty and note whether your fingers feel pinched or strained. That check matters because a mug that feels fine on a shelf can become annoying after a long climb, and the handle is the part you actually grip when the drink is hot.
Test heat retention over time
Pour hot water into each mug, place a thermometer in the liquid, and record the starting temperature. Wait ten minutes, then record again, and repeat at twenty and thirty minutes. Keep the mugs in the same room, away from drafts, and use the same starting temperature for a fair comparison. This test comes after weighing because you now know which mugs are heavy enough to justify their warmth. As a practical check, feel the outside of each mug at the ten-minute mark with the back of your hand, carefully, and note whether it is cool, warm, or too hot to touch. That check matters because external heat tells you where the warmth is going, and a mug that burns your hand may also lose heat faster than a double-wall design.
Inspect rim, seam, and coating
Look closely at the rim, the handle attachment, and any seams or welds. Run a finger along the rim to feel for sharp edges, rough spots, or a rolled lip that feels comfortable. Check inside the mug for cracks, bubbles, or areas where the coating looks thin. This inspection follows the heat test because temperature changes can reveal problems such as a coating that lifts or a seam that weeps. As a practical check, fill the mug with warm water, dry the outside, and set it on a dry paper towel for five minutes to see if any moisture appears at a seam or handle joint. That check matters because a slow leak is easy to miss at home but very annoying in a sleeping bag or pack, and catching it early lets you choose a different mug.
Match the mug to your stove and pack
Place each mug next to your stove, pot, and the pocket or pouch where it will travel. Check whether the base sits steadily on your stove or pot support, whether the handle folds or fits without blocking a lid, and whether the mug slides into your pack pocket without forcing the fabric. This step comes after inspection because a mug with a good rim and no leaks still has to fit your actual gear. As a practical check, pack the mug as you would on a trip, walk around your home with the loaded pack, and then take the mug out to see if it shifted, tipped, or pressed into your back. That check matters because fit problems often show up only when the pack is worn, and a mug that moves around can spill or damage other items.
Clean, dry, and store each mug
Wash each mug by hand with warm water and a soft cloth, following the maker instructions. Avoid abrasive pads on coated or polished surfaces, and do not soak wooden or wrapped handles unless the maker says it is fine. Rinse well, then dry the inside and outside completely, including the lid threads or seal. This final step matters because residue and trapped moisture affect taste and can lead to odors or surface damage over time. As a practical check, smell the dry mug and look inside for a chalky film or leftover coffee oil. That check matters because a clean, dry mug is the baseline you will compare against after your next trip, and it helps you notice when a material starts to hold smells or stains. Store the mug open, not sealed, so air can circulate.
Quick Reference
| Situation | Action | Why it helps |
|---|---|---|
| You want the lightest mug for long walks. | Weigh your empty mugs on a kitchen scale, then choose the lightest one that still has a comfortable rim, a secure lid, and a handle you can hold with gloves. | Weight matters most when you carry it for hours, but a mug that is too small, too hot, or hard to grip will make you drink less, so comfort and safety come before saving a few grams. |
| Your hot drink cools down too fast in camp. | Compare your mug with and without its lid, preheat it with hot water for a minute, and serve the drink right after heating instead of letting it sit in a cold pot. | Most heat escapes from the open top and the mug walls, so a lid, a preheated mug, and quick pouring keep the drink warmer without changing the mug itself. |
| You are unsure whether a mug is safe for hot drinks. | Check the maker label or product page for heat limits, then test the mug with warm water first, holding it carefully and watching for soft spots, odors, or a loosening coating. | Not every material is made for boiling liquid, and a warm-water test reveals problems while the risk is low, before you trust the mug with a full serving of hot coffee or tea. |
Common Issues
- The mug gets too hot to hold on the outside.: Use a mug with a handle, a removable sleeve, or a double-wall design, and preheat it with warm water rather than boiling water. If the outside still becomes uncomfortable, let the drink cool for a few minutes before you pick it up, or pour it into a second cup.
- The lid leaks or pops off when the mug is full.: Fill the mug only to the fill line marked by the maker, press the lid down evenly around the whole rim, and check the seal for cracks or missing pieces. If the lid still lifts, leave it off while the drink is very hot and add it later when the temperature drops.
- The inside coating is chipped or scratched.: Stop using the mug for hot drinks and check the maker guidance about coating damage. A chipped coating can trap residue, feel rough on your lip, and may worsen with heat, so replace the mug or keep it for cold drinks only if the maker allows that use.
Advanced Tips
- Match the mug wall thickness to the season: a thicker double wall holds heat longer on cold mornings, while a thin single wall cools faster and may suit hot afternoons when you want to drink soon.
- Test rim comfort with your eyes closed and small sips of warm water; this reveals sharp edges, a metallic taste, or an odd smell that you might overlook when the mug is new and exciting.
- Pack a spare lid seal or a small strip of food-safe tape for trips where a leak would soak your gear, and check the seal before every trip because small rubber parts age quietly.
Final Checklist
- Confirm the base material and read the maker guidance for heat, cleaning, and safe use before your first hot drink.
- Weigh the mug empty and full, and hold it by the handle for thirty seconds to check balance and grip.
- Inspect the rim, seams, lid, and interior coating for chips, cracks, rough edges, or loose parts.
- Pack the mug in its real spot, walk with the loaded pack, then clean and dry the mug completely before storage.
FAQ
Which material keeps drinks hot the longest?
Double-wall stainless steel usually holds heat well because the air gap between the walls slows heat loss, and a tight lid adds more. Titanium is very light but often transfers heat faster unless it is also double-walled. Enameled steel and single-wall metal warm up quickly on the outside, which means they lose heat faster. Ceramic holds heat nicely but is heavier and can chip. Always check the maker description for wall type and lid design rather than assuming from the material name alone.
Is a metal mug safe for all hot drinks?
Most metal mugs handle hot water and coffee well, but the details matter. Uncoated aluminum can react with acidic drinks and may taste odd, while some coated mugs should not be scraped or heated empty. Check the maker instructions for heat limits and cleaning. If a coating is chipped or a seam leaks, stop using the mug for hot drinks. When in doubt, test with warm water first and watch for soft spots, strange smells, or a coating that lifts.
How do I clean a camp mug without damaging it?
Use warm water, a soft cloth or bottle brush, and a mild soap, then rinse well and dry completely. Avoid abrasive pads on polished metal, enamel, or coated interiors, and do not soak handles that may hold water. For stubborn stains, follow the maker cleaning guidance instead of guessing. Store the mug open with the lid off so air can move through it. A clean, dry mug keeps drinks tasting right and helps you spot damage early on the rim, seam, or interior surface.