Hiking Boot Break In Guide
A practical step-by-step guide to hiking boot break in guide, including preparation, instructions, common issues, tips, and next steps.
Hiking Boot Break In Guide
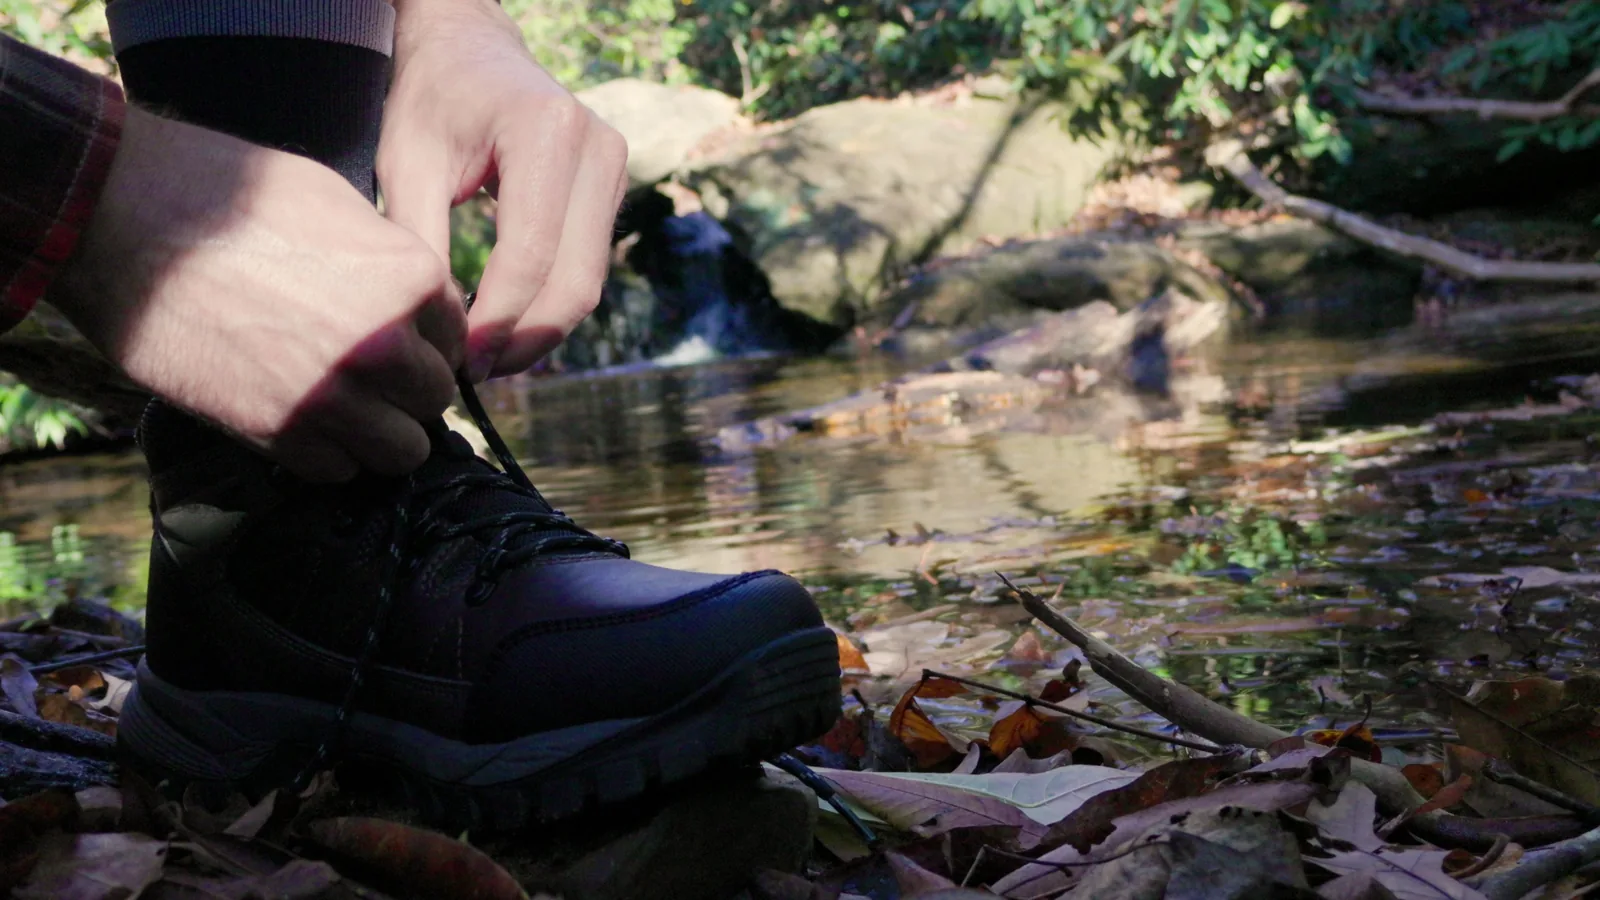
Breaking in hiking boots is a gradual process that softens stiff materials, molds the boot to your foot shape, and reduces the risk of blisters on the trail. This guide walks you through preparation, a six-step break-in routine, quick fixes for common problems, and a final checklist so your boots feel comfortable before your first long hike. Expect the process to take several short walks over one to two weeks, with rest days in between. Patience now prevents pain later.
Fast Answer
- Start with short walks on flat ground, then gradually add time, distance, and weight in your pack over one to two weeks.
- Stop if you feel a hot spot forming; adjust lacing or socks immediately, and let the boots rest before your next walk.
Before You Start
- Choose the right socks: wear the same thickness and material you plan to hike in, such as wool or synthetic blends that wick moisture.
- Gather supplies: thick socks, blister patches, a small backpack, and a clock or phone timer to track your walking sessions.
- Check the boot fit: ensure your longest toe has about a thumb's width of space at the front when standing, and your heel stays locked.
- Plan your routes: pick flat, familiar paths like a neighborhood loop or a park trail so you can stop easily if discomfort starts.
Step-by-Step Instructions
Start with short indoor walks
Put on your hiking socks and lace the boots snugly but not tight. Walk around your home for 15 to 20 minutes. Pay attention to pressure points on your heels, toes, and the tops of your feet. If a spot rubs, stop and adjust the lacing or sock thickness. This first step lets the boot begin to flex and shows you where it needs to soften. After the walk, take the boots off and check your feet for red areas. A practical check is to press gently on any red spot; if it feels tender, note it and address it before the next walk. Why this matters: catching pressure points early prevents them from turning into blisters during longer sessions.
Walk outside on flat ground
Move to a flat outdoor surface like a sidewalk or a smooth park path. Walk for 20 to 30 minutes at a relaxed pace. Focus on a natural stride and let your heel strike the ground first, then roll through to your toes. This motion helps the boot's sole and upper bend where your foot flexes. Check the fit by wiggling your toes; they should move freely without sliding forward. If your heel lifts, try a different lacing pattern or tighten the lower section. A practical check is to stop halfway and feel for any hot spots. Why this matters: flat ground lets you focus on fit and flex without the added challenge of uneven terrain, so you can make adjustments before the boots are stressed.
Add gentle hills and turns
Find a gentle slope or a path with small inclines and declines. Walk for 30 to 40 minutes, paying attention to how the boots handle downhill pressure. On descents, your toes may push against the front; if they do, tighten the laces across the top of your foot to lock your heel back. On uphills, loosen the upper laces slightly to allow your ankle to flex. A practical check is to pause at the bottom of a slope and press your toes forward; they should not jam into the front of the boot. Why this matters: hills test the boot's ability to hold your foot secure, and adjusting lacing now prevents toe pain and blisters on real trails.
Carry a light backpack
Put on your backpack with a light load, such as a water bottle and a jacket. Walk for 40 to 50 minutes on mixed terrain like a park with small hills. The extra weight presses your feet into the boots and simulates real hiking conditions. Check that the boots still feel secure and that no new pressure points appear. If your feet slide forward, tighten the mid-section of the laces. A practical check is to walk a few steps on your toes and then on your heels; the boots should stay connected to your feet without excessive movement. Why this matters: a load changes how your foot interacts with the boot, and discovering issues now is better than on a long hike with a full pack.
Extend distance and time
Plan a walk that lasts 60 to 90 minutes on varied terrain, still close to home. Keep the light backpack on. This longer session helps the boots mold to your feet and reveals any lingering hot spots. Stop every 20 minutes to check your feet and adjust lacing if needed. A practical check is to feel the inside of the boots for rough seams or folds that might rub; if you find one, smooth it or cover it with a blister patch on your foot. Why this matters: longer walks simulate the duration of a real hike, so you can trust your boots for several hours without discomfort.
Do a final test hike
Choose a local trail that takes 2 to 3 hours and includes the kind of terrain you expect on your main hike. Wear your hiking socks and carry your normal day pack. Walk at a steady pace and monitor your feet. If you feel any hot spot, stop immediately and treat it with a blister patch or by adjusting laces. After the hike, inspect your feet for redness and the boots for wear. A practical check is to see if you can walk downhill without your toes hitting the front; if not, your boots may need more break-in or a different lacing style. Why this matters: this test confirms your boots are ready for longer adventures and gives you confidence.
Quick Reference
| Situation | Action | Why it helps |
|---|---|---|
| You feel a hot spot on your heel during a walk. | Stop immediately, loosen the laces, and readjust your sock. If the spot persists, apply a blister patch and consider a heel-lock lacing pattern. | A hot spot is the start of a blister; treating it right away prevents a painful injury that could ruin your hike. |
| Your toes jam into the front of the boot on downhill sections. | Tighten the laces across the top of your foot and use a heel-lock lacing technique to pull your heel back into the heel cup. | This keeps your foot from sliding forward, which reduces toe pressure and the risk of bruised toenails or blisters. |
| The boots feel stiff and do not flex enough after several walks. | Continue wearing them for short sessions and gradually increase time. You can also flex the sole with your hands when the boots are at room temperature. | Most boots need repeated flexing to soften; gentle manual flexing can speed up the process without damaging the materials. |
Common Issues
- Heel slipping up and down: Try a heel-lock lacing pattern or add an aftermarket insole to take up volume. Ensure your heel is pushed to the back of the boot before lacing.
- Pressure on the top of the foot: Loosen the laces over the instep or skip a lace eyelet to relieve pressure. Check that your socks are not too thick or bunched.
- Toes hitting the front on downhills: Tighten the lower laces and use a heel-lock to secure your foot. If the problem continues, the boot may be too short; consider a half size larger.
Advanced Tips
- Condition leather boots with a recommended product to keep them supple, but avoid over-oiling which can soften support.
- Use two pairs of socks: a thin liner sock under a thicker wool sock to reduce friction and wick moisture.
- Rotate your boots with other footwear during break-in to give materials time to rest and your feet to recover.
Final Checklist
- Walk at least 2 hours on varied terrain without hot spots or pain.
- Your heel stays locked and toes do not hit the front on downhills.
- Boots feel comfortable with your usual hiking socks and a light pack.
- You have tested your lacing system and know how to adjust for climbs and descents.
FAQ
How long does it take to break in hiking boots?
It varies by boot material and your feet. Most boots need one to two weeks of short walks, totaling about 10 to 15 hours. Leather boots may take longer than synthetic ones. Follow the step-by-step plan and judge by comfort, not by a strict schedule.
Can I break in boots by wearing them around the house?
Yes, indoor walks are a safe start. They let you test fit and find pressure points without weather or terrain challenges. But you also need outdoor walks on varied ground to test flex, grip, and downhill pressure before a real hike.
What should I do if a blister forms during break-in?
Stop walking, clean the area, and cover it with a blister patch or moleskin. Do not pop the blister. Let it heal before wearing the boots again. If the blister is large or very painful, see a medical professional. Adjust lacing or socks to prevent a repeat.