Insulated Flask For Day Walks
A practical step-by-step guide to insulated flask for day walks, including preparation, instructions, common issues, tips, and next steps.
Insulated Flask For Day Walks
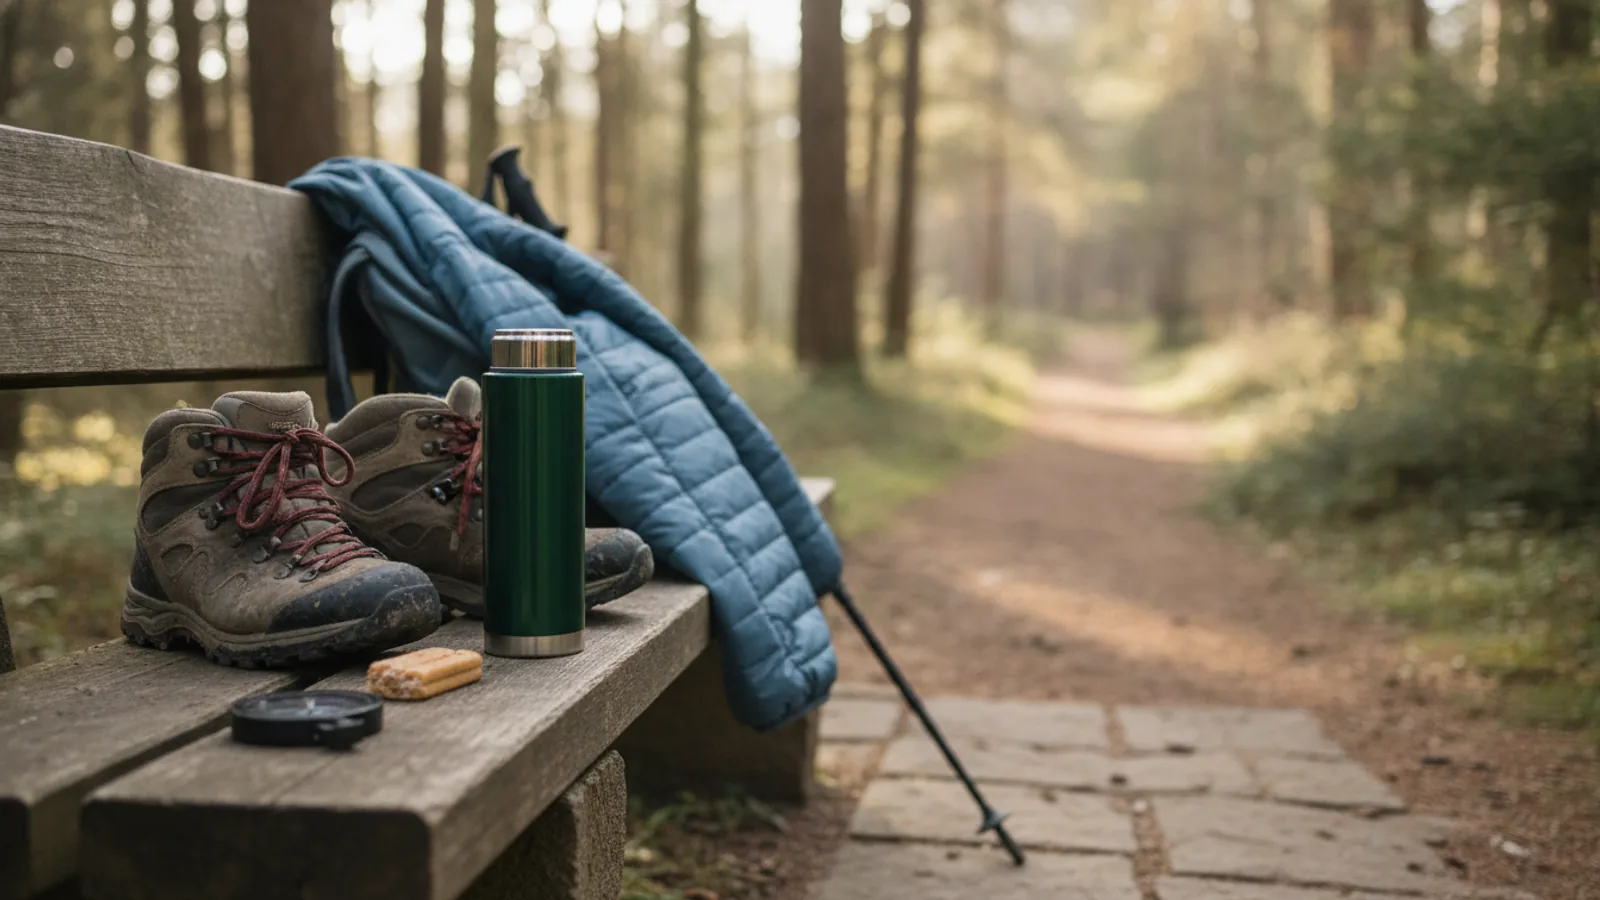
A practical, field-tested guide to choosing, filling, packing, and using an insulated flask for day walks. It covers pre-walk checks, safe filling temperatures, packing to prevent leaks, drinking on the move, cleaning between trips, and simple troubleshooting for lukewarm drinks or jammed lids. Everything here works with a basic vacuum flask and a normal backpack, so you can keep tea, coffee, soup, or cold water at the temperature you want from the trailhead to the last kilometer.
Fast Answer
- Preheat the flask with hot tap water for a few minutes before adding your drink, and pre-chill it with cold water if you want a cold drink to stay cold.
- Fill to roughly two centimeters below the neck, close the stopper firmly, then pack the flask upright and wrapped so it cannot roll or knock against hard items.
Before You Start
- Clean and fully dry the flask the night before, because trapped moisture and old drink residue cause smells and dull flavors on the walk.
- Decide your drink and target temperature, since hot soup, tea, and cold water each need slightly different filling and packing habits.
- Check the stopper seal, threading, and lid for cracks, stiffness, or missing parts, and replace any worn piece before you rely on it.
- Plan where the flask will sit in your pack so it stays upright, stays reachable, and does not press against your back or sharp gear.
Step-by-Step Instructions
Clean and dry the flask properly
Start the day before your walk by washing the flask with warm water and a small amount of dish soap, using a bottle brush to reach the base and the shoulder where residue collects. Rinse thoroughly until no soap smell remains, because soap can leave a taste that ruins the first cup of tea. Turn the flask upside down on a drying rack and leave it overnight with the stopper removed so air can move through the body. If you smell anything stale in the morning, repeat the wash and dry cycle before you use it. A fully dry interior matters because a single drop of water left inside will absorb heat from your drink and slightly reduce how long it stays hot. Check the seal and stopper threads with your fingers for grit or stiffness while the flask dries.
Preheat or pre-chill before filling
Fill the flask with hot tap water, close the stopper, and let it stand for about five minutes while you prepare your drink. This warms the inner wall so your tea or soup does not lose its first heat to cold metal. For cold drinks, fill the flask with cold water and a few ice cubes for the same few minutes, then empty and shake out the excess. Pour the tempering water out completely before you add the real drink, because leftover water will dilute the flavor and change the temperature you worked to set. If you are carrying soup, use hot water for the preheat, then fill slowly to avoid splashing. This step is short but it is the single easiest way to add hours of usable heat or cold to a basic flask.
Fill to the correct level
Pour your drink into the flask until the liquid sits about two centimeters below the bottom of the stopper, then stop. That gap leaves room for the stopper to seat fully and for the small amount of expansion that happens as hot liquid warms the remaining air. Overfilling forces liquid into the threads, which causes leaks and makes the stopper hard to open later. Underfilling leaves a large air pocket that cools faster and makes the flask slosh as you walk. Fill over a sink or a towel so spills are easy to manage, and wipe the threads and rim dry with a clean cloth before closing. A dry, clean rim lets the stopper grip evenly, which is what actually prevents drips inside your pack.
Seal the stopper and test for leaks
Screw or press the stopper in firmly by hand, following the direction marked on the flask, and stop when it feels snug rather than forcing it. Then hold the flask over a sink and turn it upside down for a slow count of ten, watching the rim, the threads, and the base for any drip. If you see moisture, dry the area, reseat the stopper, and test again before the flask goes anywhere near your pack. A quick test at home saves a soaked jumper, a ruined map, and a cold drink later on the trail. Do not overtighten to solve a leak, because that can crack plastic parts or flatten the seal; instead check that the seal is seated correctly and free of grit. When the flask passes the test, it is ready to pack.
Pack the flask upright and protected
Place the flask upright in a side pocket or in the middle of your pack, surrounded by soft items such as a fleece or a rolled cloth so it cannot tip or rattle against hard gear. Keep it away from sharp edges, keys, and metal parts that could scratch the outer coating or dent the vacuum wall. If your pack has no upright space, lay the flask on its side only after it has passed the leak test, and keep the stopper end slightly raised so any small seepage stays near the base. Balance matters too: a full flask is heavy, so pack it close to your back and near the middle of your spine to keep your load stable on uneven ground. Check the position by walking a few steps and bending forward before you leave.
Drink safely and reseal on the move
When you stop for a drink, set the flask on level ground or hold it low and steady, then open the stopper slowly and away from your face to let steam or pressure escape. Pour into the lid or a small cup rather than drinking straight from the neck, especially with hot drinks, so you can judge the temperature before it reaches your lips. Take a small first sip and wait a moment before a larger one, because a flask can keep liquid hotter than you expect even after several hours. Reseal the stopper firmly after every pour, and wipe the rim dry before closing so the seal stays clean. Put the flask back in the same upright position you planned during packing, and check once more that it cannot roll when you lift the pack.
Quick Reference
| Situation | Action | Why it helps |
|---|---|---|
| You want a hot drink to still be hot after four or five hours of walking. | Preheat the flask with hot tap water for five minutes, fill to two centimeters below the stopper, seal it, and pack it upright in the middle of your pack wrapped in a cloth. | The preheat removes the cold inner wall that steals heat, the air gap lets the stopper seal properly, and upright packing keeps the hot liquid against the base instead of the stopper. |
| Your flask leaked inside your pack on a previous walk. | Dry the rim and threads, check that the seal is seated and free of grit, reseat the stopper, then turn the flask upside down over a sink for a slow count of ten before packing it. | Most leaks come from a dirty or displaced seal or a stopper that is not seated evenly, and the upside-down test shows you the problem at home instead of on the trail. |
| You are carrying a cold drink on a warm day walk. | Pre-chill the flask with cold water and ice for five minutes, fill with your chilled drink, keep the flask out of direct sun, and pack it with a cloth for insulation. | Starting with a cold inner wall and keeping the flask shaded slows the heat gain, so the drink stays refreshing for the later part of your walk. |
Common Issues
- The drink is only lukewarm after a couple of hours.: Preheat the flask with hot water for five minutes before filling, fill closer to the recommended level, and check that the outer body does not feel warm; if it does, the vacuum has failed and the flask needs replacing.
- The stopper is hard to open or has jammed shut.: Avoid overtightening when you seal it, keep the threads dry and clean after each fill, and if it sticks, run warm water over the outside of the neck for a minute before gently turning the stopper with a cloth for grip.
- The flask smells stale even after washing.: Wash with warm soapy water and a bottle brush, rinse well, then leave the flask open and upside down to dry completely overnight; for stubborn smells, soak the inside with a mix of warm water and baking soda, rinse, and dry fully before use.
Advanced Tips
- Use two smaller flasks instead of one large one when you carry both a hot drink and cold water, since each stays at its own temperature and you avoid flavor mixing.
- Fill the flask with boiling water, seal it, and let it stand for a minute before adding your drink to raise the starting temperature, but open it carefully because steam builds quickly.
- On very cold days, carry the flask inside your pack close to your back rather than in an outer pocket, because body heat and shelter from wind both slow heat loss.
Final Checklist
- Flask washed, rinsed, and fully dry inside, with the stopper and seal checked for cracks or missing parts.
- Preheat or pre-chill done, drink filled to about two centimeters below the stopper, and rim and threads wiped dry.
- Stopper sealed snugly and the flask passed a ten-second upside-down leak test over a sink.
- Flask packed upright in a padded spot, reachable without unpacking everything, and checked after a few steps for movement.
FAQ
How full should I fill an insulated flask?
Fill to roughly two centimeters below the bottom of the stopper. This leaves room for the stopper to seat fully and for slight expansion as hot liquid warms the air above it. Overfilling pushes liquid into the threads and causes leaks, while underfilling leaves a large air pocket that cools faster.
Can I put fizzy drinks in an insulated flask?
No. Fizzy drinks build pressure inside a sealed flask, which can force the stopper open or spray when you open it. Keep carbonated drinks in a container designed for pressure, and use the flask for still drinks such as water, tea, coffee, soup, or squash.
How do I stop my flask from leaking in my pack?
Dry the rim and threads before sealing, make sure the seal is seated and free of grit, and tighten the stopper only until snug. Then turn the flask upside down over a sink for a slow count of ten. If it stays dry, pack it upright and wrapped so it cannot roll or knock against hard items.