Campsite Lantern Light Settings
A practical step-by-step guide to campsite lantern light settings, including preparation, instructions, common issues, tips, and next steps.
Campsite Lantern Light Settings
A campsite lantern is most useful when its light matches the moment: bright and steady for cooking and cleanup, warm and low for conversation, and dim or red for late-night trips that should not wake the whole campground. This guide walks through choosing modes, setting brightness, managing beam direction, protecting night vision, and powering down cleanly, with practical checks you can run at your own site before the sun drops below the treeline.
Fast Answer
- Start by placing the lantern at chest height and adjusting the brightness until you can read a page at arm's length without glare reaching your eyes.
- Switch to a warm low setting or a red mode after the evening meal to protect night vision and reduce light spilling into neighboring sites.
Before You Start
- Charge or load fresh batteries for the lantern and a small backup light, then confirm each one turns on before you leave home.
- Check the lantern housing, switch, and seals for cracks, sticky buttons, or a loose base that could let in rain or damp air.
- Pack a diffuser or frosted shield if your lantern has a bare bulb, plus a short strap or hook for hanging it from a branch or tent loop.
- Decide where the lantern will sit at camp and what surface or hanger will keep it stable, away from tent fabric and stove heat.
Step-by-Step Instructions
Set the lantern at a safe height
Place the lantern on a stable, level surface or hang it from a sturdy branch, tent loop, or dedicated hook so the light sits near chest height. Chest height spreads useful light across a table and cooking area without throwing glare straight into seated eyes. Check that the base or hanger cannot slide, tip, or swing when someone brushes past, and keep the lantern at least a full arm's length from tent fabric, tarps, and anything that could catch heat. Look up before you hang it: a low branch may drop sap, and an overhead line may snag. Once it is set, step back a few paces and confirm the lantern is out of the main walking path, so nobody trips over a cord, strap, or guy line in the dark.
Choose the right light mode
Turn the lantern on at its lowest setting and cycle through the available modes to see what each one actually looks like at your site. Most lanterns offer a bright white setting for tasks, a warm or amber setting for relaxed sitting, a flashing or beacon mode for emergencies, and sometimes a red mode for preserving night vision. Pick the mode that matches the job rather than the brightest option by default: bright white for cooking, washing up, or finding gear, warm low for talking and eating, and red for late trips away from camp. Confirm the mode by looking at the lantern, not by trusting the label, because some switches cycle in an order that is easy to overshoot. If you are unsure what a mode is for, check the product documentation stored on your device or the printed card that came with the lantern.
Dial in brightness for the task
Adjust the brightness control until the light covers the work area evenly and your eyes stay comfortable. A good test is to hold a book, map, or food package at arm's length and read it without squinting or turning your head away from glare. If the pages look washed out, lower the setting a notch. If you cannot see fine print or knife cuts, raise it one notch. Do this check each time the job changes, because cooking, cleaning, and reading all need different amounts of light. Keep the beam pointed down and slightly away from other people's faces. When you finish the task, turn the lantern back down instead of leaving it at full power, which saves battery and keeps the campsite calm. This check matters because the human eye adapts slowly, and too much light at close range makes nearby details harder to see, not easier.
Direct the beam and control spill
Rotate or tilt the lantern head, or move the whole unit, so the brightest part of the beam lands on the table, stove, or path you are using, while the edges of the light fall away from tents and neighbors. If your lantern came with a shield, diffuser, or hanging shade, fit it now to soften the glare and spread light more evenly. Walk a slow circle around your site after dark and note where the light reaches: if it paints the side of a neighbor's tent or shines into a parked vehicle, lower the brightness, add the diffuser, or turn the lantern to face a tree or open ground. This check matters because campsites are shared spaces, and directed light lets you work comfortably without becoming everyone else's problem. Recheck the aim after anyone moves chairs, tables, or gear, since a small shift can send the beam somewhere new.
Protect night vision after dark
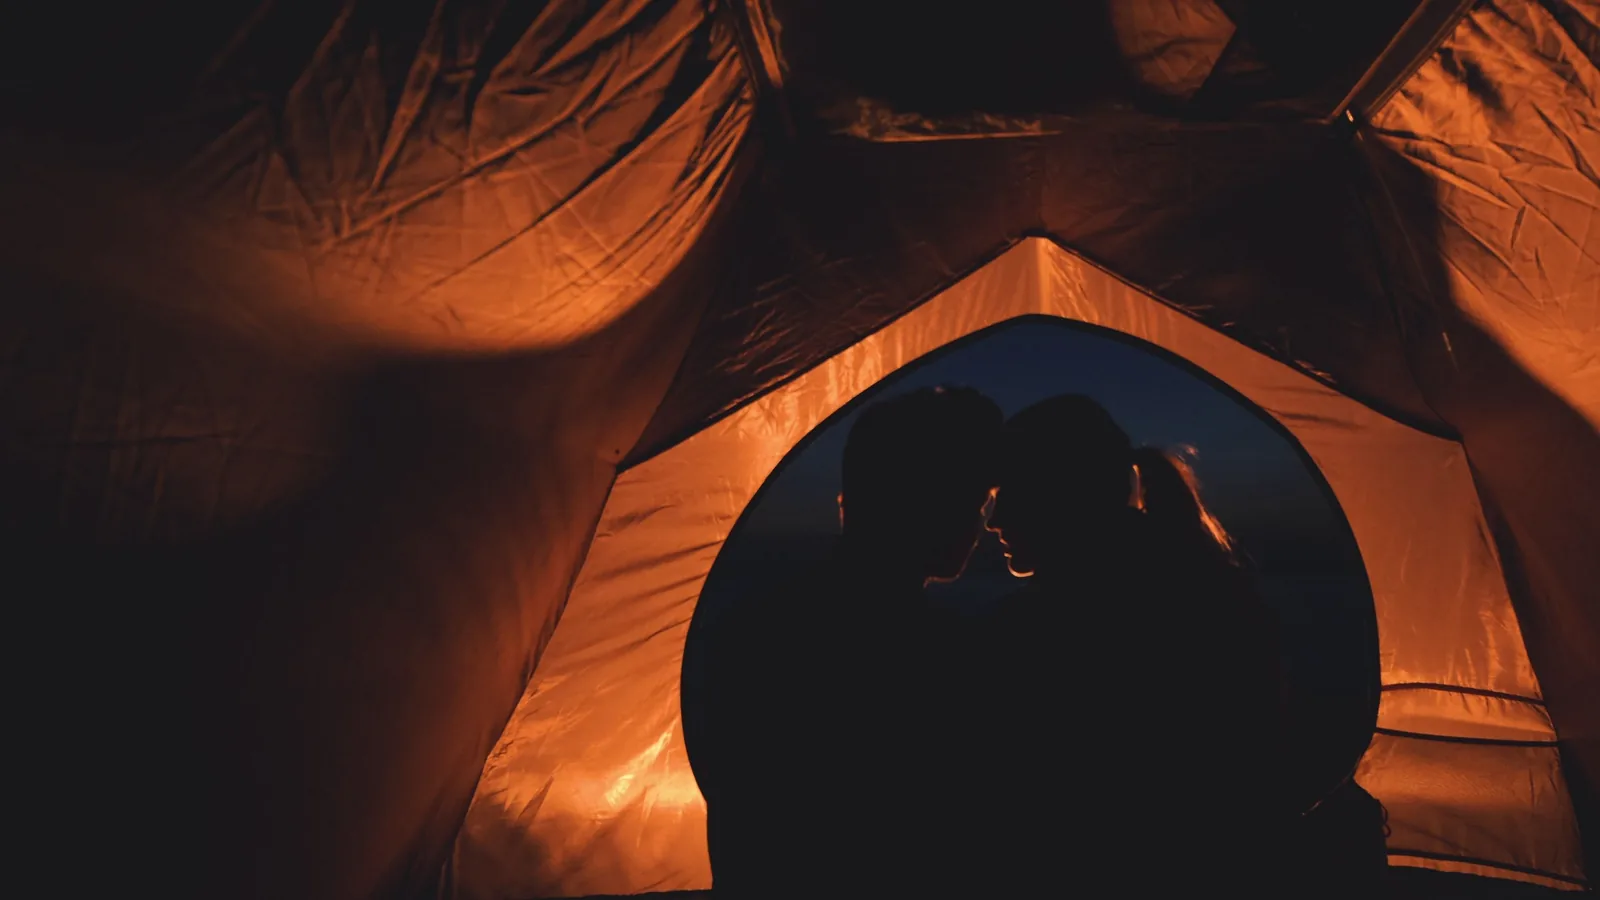
Once the evening meal is finished and the camp slows down, switch the lantern to its warmest, lowest setting or to red mode if it has one. Red and very dim amber light let your eyes keep much of their adaptation to darkness, so you can walk to a washroom or look at the stars and still see where you are going when you return. Turn the lantern toward the ground or a nearby object rather than letting it shine outward. Give your eyes several minutes to adjust after you dim the light; do not flip back to full brightness just because the first moment feels dark. If you must use a bright setting for a short task, cover one eye with your hand or look away from the beam, then let the other eye take over. This check matters because repeated switching between very bright and very dim light leaves you half-blind at the worst possible time, especially on uneven ground.
Power down and pack safely
When the evening is over, switch the lantern off using its main control, not by loosening the battery door or pulling a cord. Let the housing cool before you pack it, and check that the switch is fully in the off position so the light cannot turn on inside a bag. Remove batteries if the lantern will sit unused for a long stretch, and store them away from metal objects that could bridge the contacts. Wipe moisture and grit from the housing and lens with a soft cloth, then dry everything before sealing it in its bag. Confirm the lantern and its spare batteries go into the same known pocket every trip so you can find them by feel. This check matters because a light that switches on in storage is dead when you need it, and damp storage corrodes contacts over time.
Quick Reference
| Situation | Action | Why it helps |
|---|---|---|
| Cooking and washing up after dark | Hang or set the lantern at chest height with bright white light aimed down at the work surface, then lower it one notch if glare reaches your eyes. | Bright downward light shows knife work and food safety clearly, while a slightly lower setting keeps shadows and glare from hiding small details. |
| Sitting and talking around camp | Switch to a warm medium or low setting, place the lantern at table height, and add a diffuser or shade on the side facing other campsites. | Warm, softened light is easier on the eyes for conversation and reduces spill that can disturb neighboring campers. |
| A late trip away from camp | Use red mode or the lowest warm setting, point the beam at the ground a few paces ahead, and keep the main lantern dimmed behind you. | Dim red light preserves your night vision so you can return and still see the path, your tent, and your gear without relighting everything. |
Common Issues
- The lantern is so bright that everyone squints and shadows hide the table: Lower the brightness one or two steps, move the lantern to chest height, and angle the beam downward instead of outward. If your model has a diffuser or shade, fit it now to soften the light and spread it over a wider area.
- Neighbors can see the light from their tents late at night: Switch to the lowest warm or red setting, turn the lantern to face a tree, vehicle, or open ground, and add a shield on the side that points toward other sites. Keep the main beam below the height of tent walls.
- The lantern dies partway through the evening: Start the trip with fully charged or fresh batteries, carry one spare set in the same pouch, and avoid leaving the lantern on full brightness while you are not using it. Check the battery level before the evening meal so you can swap early.
Advanced Tips
- Use two lights instead of one: a small dim light for the table and a separate headlamp or handheld light for walking, so you never have to over-brighten the main lantern.
- Mark the lantern's lowest usable setting with a dab of paint or tape on the dial so you can find it by feel after dark without cycling through every mode.
- Place a light-colored cloth or a piece of foil behind the lantern to bounce light onto your work area while blocking the beam from reaching other campsites.
Final Checklist
- Lantern is stable, at chest height or lower, and clear of tent fabric, straps, and stove heat.
- Light mode matches the task, with warm or red settings chosen for late evening use.
- Brightness is comfortable for reading at arm's length, and the beam points down and away from others.
- Lantern is switched fully off, cooled, dried, and stored with spare batteries in a known pocket.
FAQ
What light setting should I use for cooking at camp?
Use a bright white setting aimed down at the work surface, with the lantern at about chest height. Check that you can read a label at arm's length without glare reaching your eyes. If the light washes out the surface or casts hard shadows over your hands, lower it one step or add a diffuser.
How do I keep my lantern from bothering other campers?
Switch to a warm or red low setting after the meal, face the lantern toward a tree or open ground, and shield the side that points at other tents. Walk your site after dark and look for light hitting neighboring tents or vehicles, then dim or redirect until that spill is gone.
Why does my lantern seem to drain its battery so quickly?
Bright modes draw far more power than warm or low modes, so leaving the lantern at full brightness for hours empties it fast. Start with fresh or fully charged batteries, carry a spare set, and step the light down whenever you are not actively using it for a task.