Hiking Sandals Strap Adjustment
A practical step-by-step guide to hiking sandals strap adjustment, including preparation, instructions, common issues, tips, and next steps.
Hiking Sandals Strap Adjustment
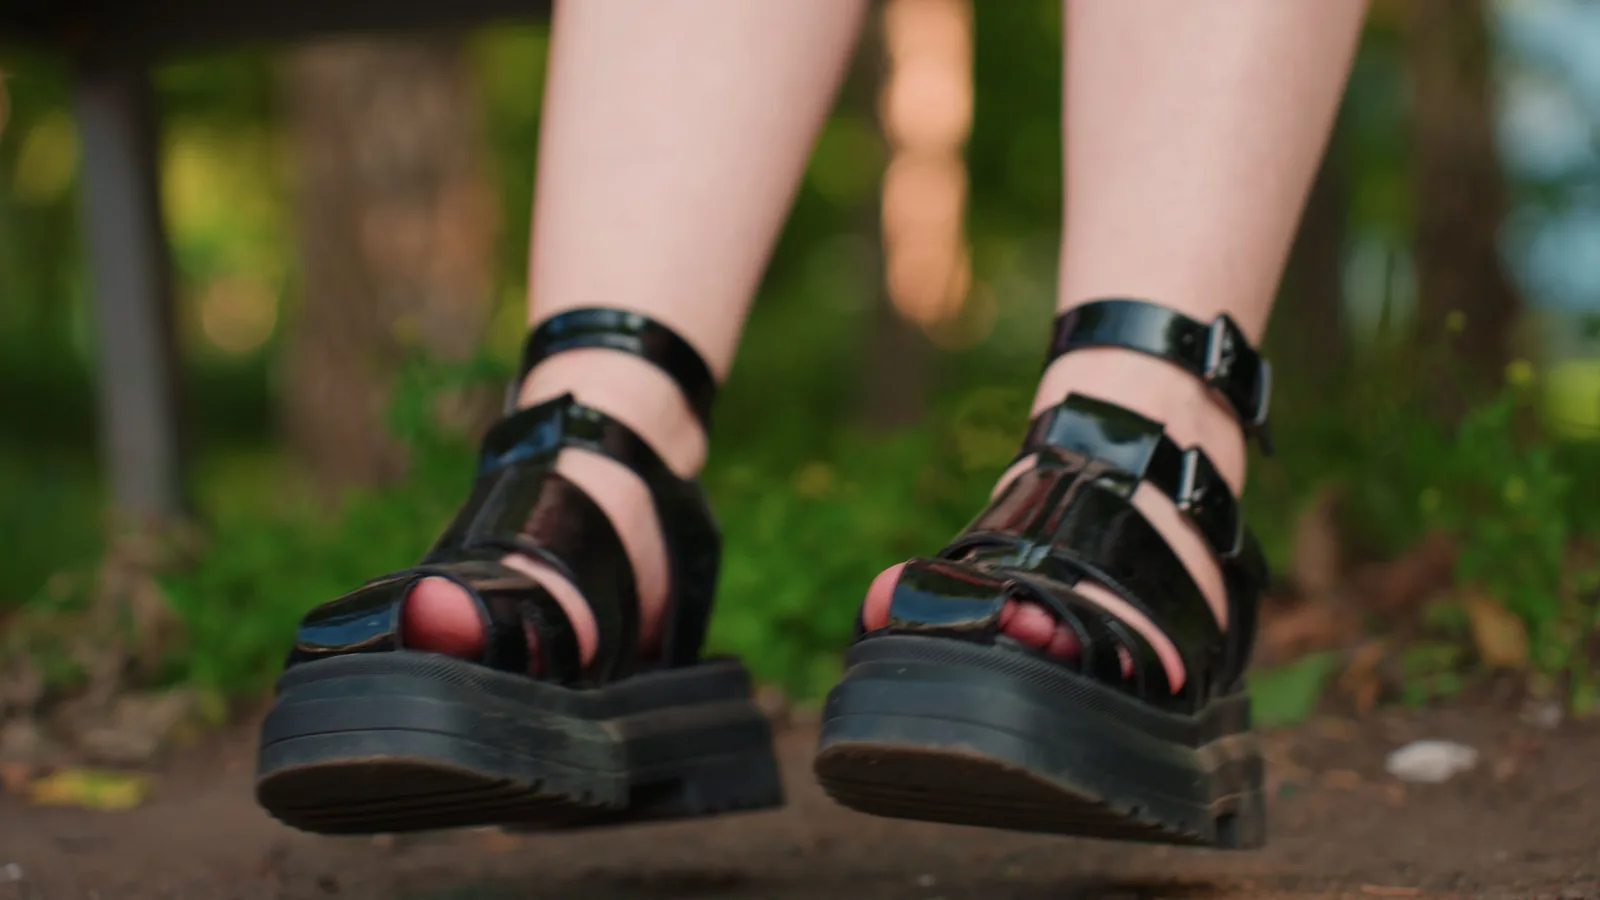
Adjusting hiking sandals properly keeps your feet stable on uneven ground, prevents blisters and hot spots, and reduces the chance of tripping when straps shift. This guide walks you through a calm, methodical strap fit at home and on the trail, with checks you can repeat each time you put them on.
Fast Answer
- Adjust straps from the heel backward: secure the heel first, then the instep, then the toes, because a loose heel lets your foot slide forward and jam your toes.
- After any change, walk a few steps and check for heel lift, toe pinch, and strap pressure points; retighten if your foot moves more than a finger's width.
Before You Start
- Wear the socks you plan to hike in, or go barefoot if that is your normal choice, so the fit matches real conditions.
- Loosen every strap and buckle fully before you start, letting your foot settle into the footbed without pressure from any direction.
- Stand on a slight incline or a low step to mimic trail angles, since this reveals sliding and pressure points that flat ground hides.
- Have a small mirror or a phone camera ready to view the back of your heel and the outside of the sandal where you cannot see easily.
Step-by-Step Instructions
Start with a clean, dry sandal
Before you touch any strap, wipe the footbed and straps with a damp cloth and let them dry completely. Dust, grit, and dried sweat make straps stiff and cause them to stick instead of sliding smoothly through buckles. Dry straps also let you feel small changes as you pull, so you can judge tension by hand rather than by guesswork. Once dry, loosen every strap and buckle so the sandal opens wide. Place your foot in the footbed and center your heel in the heel cup, not hanging over the back edge. A centered heel gives you a stable base for every later adjustment. Check that your toes rest behind the front edge with a small gap, roughly the width of your thumb, so they are not pressed against the rim. If your heel or toes sit outside the footbed, the sandal size or shape may not match your foot, and no strap change will fix that. Take a moment to confirm this before moving on.
Set the heel strap first
The heel strap controls how much your foot can slide forward, so adjust it before anything else. Pull the heel strap until it sits snug against the back of your heel without pinching. You should be able to slide one finger under the strap with gentle resistance. Tension here should feel firm but not tight. A loose heel strap lets your foot move forward on downhills, which jams your toes into the front edge and causes blisters. A tight heel strap can press on your Achilles tendon and cause rubbing with every step. After tightening, press your thumb against the back of the sandal and try to lift your heel. If your heel lifts more than a finger's width, tighten slightly. If the strap digs in when you flex your foot, loosen a little. Walk a few steps in place to see whether the heel stays put. This single adjustment prevents many common trail problems, so take your time here.
Adjust the instep straps for hold
With the heel set, move to the straps across the top of your foot, often called instep straps. Tighten them from the ankle side toward the toes, working in small steps. The goal is to hold your midfoot steady without creating pressure points. Press your thumb along each strap to feel for hard spots or edges that dig in. You want even contact across the width of your foot, not a single tight band. If one strap feels tighter than the others, loosen it and tighten its neighbor instead. A common mistake is over-tightening the instep to stop heel lift, but that presses on nerves on top of the foot and causes numbness. Instead, fix heel lift at the heel strap. After tightening, stand up and shift your weight side to side. Your foot should stay centered without rolling inside the sandal. If the sandal twists away from your foot, the instep is too loose; if your foot tingles, it is too tight. Adjust until both sandals feel the same.
Fine-tune the toe and forefoot straps
Now adjust the front straps that cross your toes or forefoot. These should be the loosest of the main straps because your foot spreads when you walk, especially on downhills. Tighten them just enough to keep the front of your foot from sliding side to side. You should be able to wiggle your toes freely with a small amount of room above them. If the strap presses down on your toes, loosen it immediately, since toe pressure causes blisters and black toenails over distance. Check the gap between your longest toe and the front edge of the sandal while standing. You want a small space, about a thumb's width, so your foot can move naturally without hitting the rim. Walk forward and backward a few steps on a hard floor. Listen for any slapping sound, which means the front is too loose, and feel for any pinching, which means it is too tight. Make small changes, then recheck. The forefoot should feel secure but free.
Walk and test under load
Strap fit changes when you carry weight, so put on your loaded pack or a similar weight and walk for several minutes. Start on flat ground, then move to a slope or stairs if you can. Pay attention to three things: heel lift, toe contact, and side-to-side movement. Your heel should stay seated in the heel cup, your toes should not touch the front edge, and your foot should not roll off the footbed. If you feel sliding, stop and adjust the relevant strap by small amounts. A useful check is to look down at your feet while walking; if the sandal shifts more than a finger's width sideways, tighten the instep or forefoot strap. After a few minutes, check for red marks or hot spots on your skin. Red marks mean pressure is too high in that spot. Loosen the nearest strap and retest. Carry a small tool if your buckles need one, and make notes on what you changed so you can repeat the fit later.
Recheck during and after the hike
Straps can loosen as materials warm up and as your feet swell during the day. Plan to check your fit at the start, after the first hill, and at your midpoint break. At each check, look for heel lift, toe contact, and twisted straps. Tighten only what has moved, and do it in small steps. If your feet swell, loosen the instep and toe straps slightly rather than the heel strap, because a loose heel lets your foot slide forward. After the hike, clean and dry the sandals, then loosen all straps for storage so they keep their shape and do not develop permanent bends. Before your next hike, set the straps back to your marked positions and repeat the walk test. This routine keeps the fit consistent and helps you notice wear on buckles or strap ends before they fail on the trail. Small, regular checks are easier than fixing a painful fit mid-hike.
Quick Reference
| Situation | Action | Why it helps |
|---|---|---|
| Your heel lifts out of the heel cup on steep downhills. | Tighten the heel strap one small step, then test by walking downhill; if it still lifts, tighten the instep straps slightly without pinching the top of your foot. | A secure heel stops your foot from sliding forward, which prevents toe jamming and blisters on descents. |
| Your toes press against the front edge or go numb on flat ground. | Loosen the toe and forefoot straps, then recheck the gap between your longest toe and the front edge while standing with your full weight. | Toe pressure reduces circulation and causes blisters or black toenails, and a small gap lets your foot spread naturally. |
| One sandal feels tighter than the other after cleaning or storage. | Compare both sandals side by side, reset each strap to the same visible length, then walk a few steps and adjust only the side that feels different. | Even small differences between feet can cause uneven gait and hot spots, so matching the fit keeps your stride balanced. |
Common Issues
- Straps loosen by themselves during a hike.: Check that the strap passes through the buckle correctly and lies flat, not twisted. If the buckle uses a friction bar, thread the strap fully over and under it. Clean any grit from the buckle with a damp cloth, then retighten and walk a short distance to confirm the strap holds. If it still slips, the strap or buckle may be worn and should be replaced or repaired by a professional.
- Hot spots form on the top of your foot.: Loosen the instep straps one step at a time and shift the strap position slightly so pressure is not concentrated on one spot. Check that no seam or edge is folded under the strap. If the hot spot remains, try a thinner sock or a small pad on the strap. Stop and treat any red area before it becomes a blister, and consider whether the sandal shape matches your foot.
- Your foot slides side to side inside the sandal.: Tighten the forefoot and instep straps in small, even steps, then test by walking and turning sharply. If sliding continues, the sandal may be too wide for your foot. Try adjusting the heel strap first, because a loose heel allows the whole foot to move. If the footbed is simply too wide, no strap change will fix it, so consider a different size or shape.
Advanced Tips
- Adjust your sandals while standing on a small incline board at home to simulate downhill sliding, which is when most toe and heel problems appear.
- Use a thin sock liner or a small adhesive pad on the footbed to change volume without overtightening straps, which can help if your feet swell at altitude.
- Rotate between two pairs of hiking sandals on long trips so straps and footbeds rest, and check each pair's fit before you rely on it.
Final Checklist
- Heel strap is snug with one finger of space and your heel stays seated when you walk.
- Instep straps hold your midfoot without numbness, tingling, or visible red marks on top of your foot.
- Toe and forefoot straps let you wiggle your toes and leave about a thumb's width of space at the front edge.
- Both sandals feel the same, and you have tested the fit with your loaded pack on a slope or stairs.
FAQ
How tight should hiking sandal straps be?
Straps should be snug enough to hold your foot in place without pinching. A good test is to slide one finger under each main strap with light resistance. Your heel should stay seated, your toes should wiggle freely, and you should feel no numbness or tingling after a few minutes of walking. If you see red marks or feel pressure points, loosen the nearest strap a small step and test again.
Should I adjust straps differently for uphill and downhill?
Yes, many hikers make small changes for terrain. For downhills, tighten the heel strap slightly and loosen the toe strap a little so your foot does not slide forward and jam your toes. For uphills, a slightly looser heel and firmer forefoot can feel more comfortable. Make changes in small steps, and reset to your baseline fit when the terrain changes back.
What should I do if my feet swell during a hike?
Loosen the instep and toe straps by small amounts to allow room for swelling, but keep the heel strap secure so your foot does not slide forward. Take a short break, remove the sandals, and let your feet rest. If swelling is severe, painful, or one-sided, stop hiking and seek medical advice. After the hike, clean and dry the sandals, then store them with all straps loose.