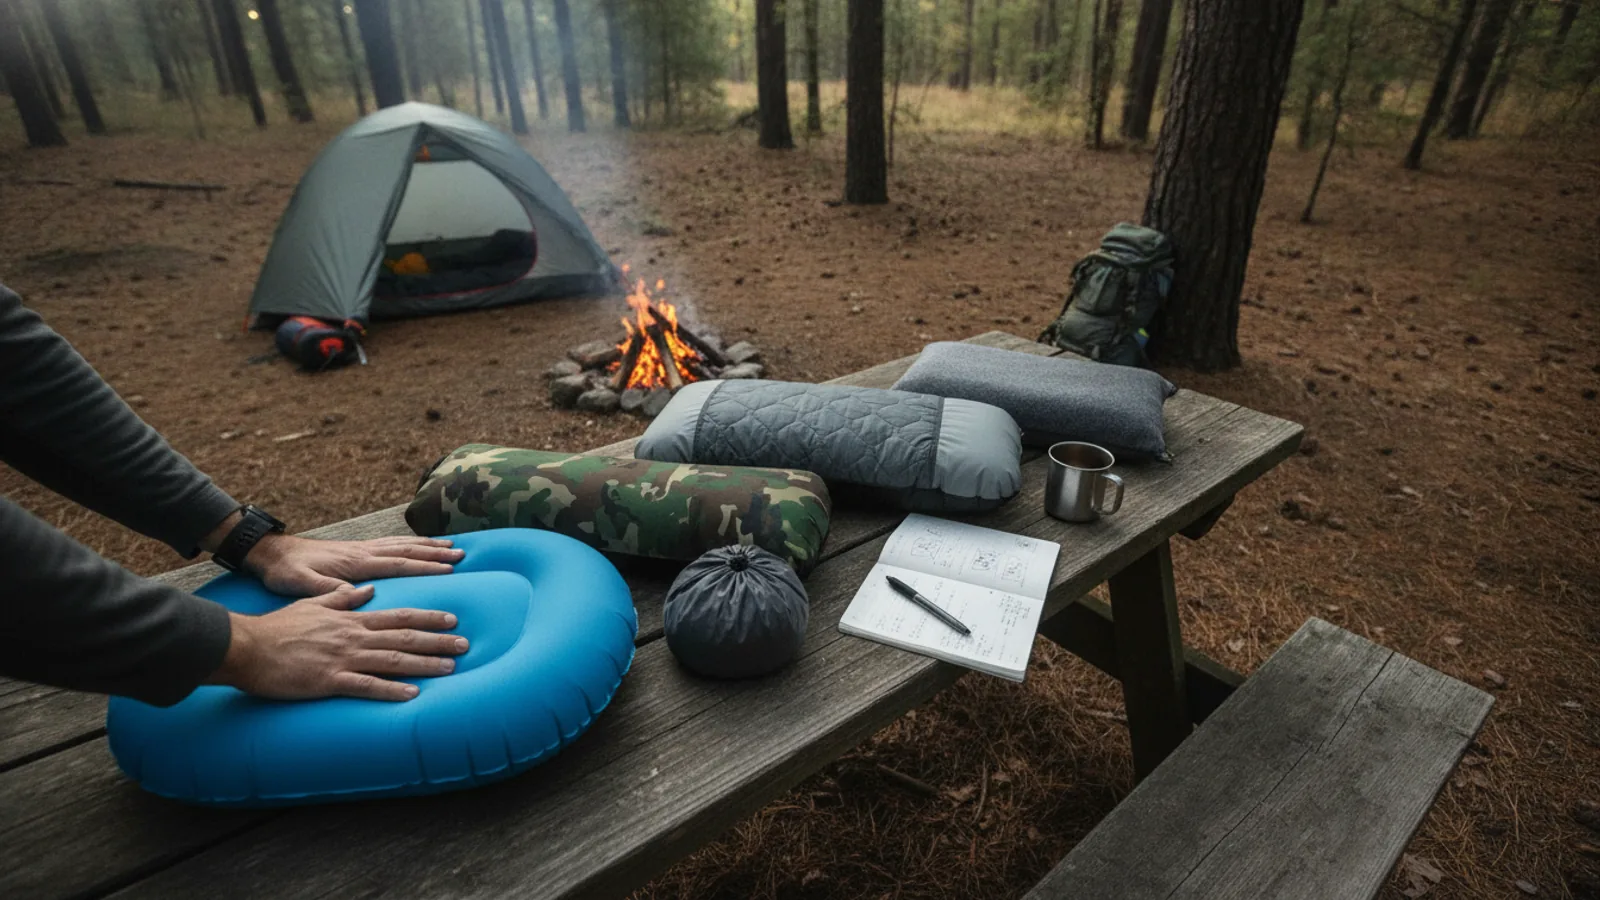
Daypack Capacity Comparison
A practical step-by-step guide to daypack capacity comparison, including preparation, instructions, common issues, tips, and next steps.
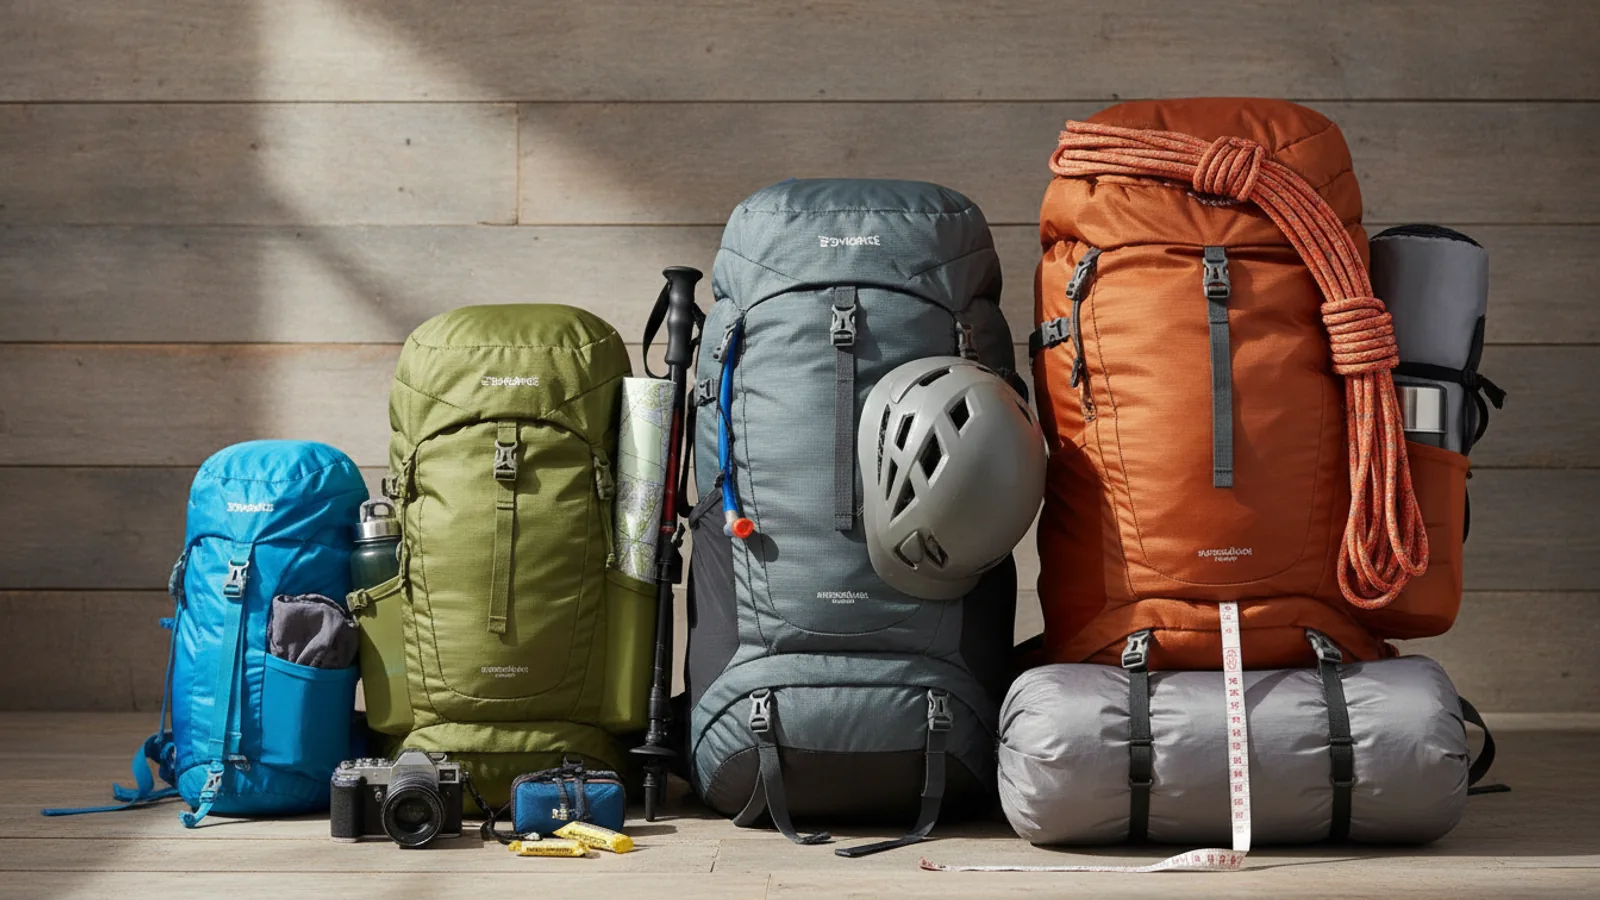
Daypack Capacity Comparison
A daypack capacity comparison helps you choose a pack that carries your daily essentials without extra bulk or strain. This guide explains how to measure real usable space, compare liters honestly, and match capacity to your typical load, so you can walk, commute, or hike comfortably with the right size.
Fast Answer
- Measure the total volume your usual items take up, then add a small buffer for food, layers, or a purchase; choose a pack whose main compartment fits that total with room to spare.
- Compare packs by usable space inside the main body, not by the number on the label; check the opening shape, depth, and whether pockets steal from the main volume.
Before You Start
- Gather the items you carry on a typical day, plus one or two extras you often add, such as a water bottle, a light layer, or a small food container.
- Find a soft measuring tape and a large box or bag; you will use them to estimate the true volume your gear takes up when packed together.
- Write down your usual route and activity, including how long you carry the pack and whether you need quick access to items while moving.
- Clear a table or floor space so you can lay out your gear, group similar items, and see the total bulk before you compare any pack.
Step-by-Step Instructions
Measure your real daily load
Start by gathering everything you normally carry: water bottle, snack, light jacket, notebook, cables, and any small pouch. Pack these items into a single bag or box as tightly as you would in a daypack. Then measure the packed bundle's length, width, and height in centimeters or inches. Multiply the three numbers to estimate volume, and write it down. This gives you a baseline that reflects your actual habits rather than a guess. Check the measurement twice because an item that bulges outward can add hidden space. The reason this matters is that pack labels often describe the outer shell, not the room your gear will truly occupy. Knowing your real load prevents you from buying a pack that looks right but feels cramped after a week.
Compare usable space, not just liters
Place two packs side by side, open their main compartments, and look at the shape rather than the printed capacity. A tall, narrow pack may hold less usable volume than a shorter, wider one because items stack poorly in a narrow tube. Check whether the main opening is wide enough to slide in a folder, a lunch box, or a folded layer without forcing it. Notice how much space internal pockets and laptop sleeves take away from the main area. Measure the main compartment's interior depth, width, and height, then multiply to get a practical volume estimate. This check matters because two packs with the same label can feel very different when you pack them. Comparing usable space helps you avoid a pack that fits on paper but fails in daily use.
Check how pockets change capacity
Count every pocket and estimate how much of your gear each one will hold. A front pocket with a zipper may take a phone, keys, and a snack, while a side pocket may only fit a slim bottle. Add up these smaller spaces and compare the total with your measured daily load. Then test whether the main compartment still holds your largest item after the pockets are filled. Many packs feel bigger because of many small pockets, but those pockets can reduce the main space when they are packed. A practical check is to fill each pocket with the items you plan to put there, then see if the main compartment can close without strain. This matters because a pack that spreads your gear across too many shallow pockets can become harder to organize and carry comfortably over time.
Test access while the pack is on
Load the pack with your measured gear and put it on your back with the straps adjusted. Without taking it off, try to reach your most-used items: phone, keys, transit card, or water bottle. See whether you can open the pocket, pull the item out, and close the pocket again with one hand or with minimal effort. If you have to remove the pack for every small item, the capacity may fit but the layout does not match your routine. A practical check is to walk around the room and repeat this access test three times. This matters because daily use often depends more on quick access than on total volume. A pack that holds everything but forces you to stop and unload it will feel smaller than it is.
Match capacity to trip length and layers
Think about the longest routine you will use the pack for, such as a full workday, a half-day hike, or a trip that includes a stop at a store. Add the items that only appear on those longer days: an extra layer, a larger meal, or a small purchase. Pack those extras with your daily load and measure the total again. Then compare that larger number with the pack's usable space. If the extra items barely fit, choose a slightly larger capacity or plan to use compression straps to keep the pack stable when it is less full. This check matters because a pack that works for a short commute can become frustrating on a longer day. Matching capacity to your longest common trip prevents both overcrowding and unnecessary bulk.
Carry the loaded pack for ten minutes
Fill the pack with your complete load, including the extras from your longest routine, and adjust the shoulder straps and any hip belt or sternum strap. Wear it for at least ten minutes while standing, walking, and climbing stairs. Notice where pressure builds: shoulders, lower back, or hips. Check whether the pack stays close to your body or pulls away when you move. Then remove the pack and look for red marks or areas of discomfort. This test matters because capacity and comfort are linked; a pack that is too deep or too tall can shift your balance even if the volume is right. If you feel strain, try a different size or shape before deciding. The goal is a pack that carries your gear quietly so you can focus on your day.
Quick Reference
| Situation | Action | Why it helps |
|---|---|---|
| You carry a laptop, charger, notebook, and lunch every workday. | Measure the laptop sleeve and main compartment together, then pack all four items and confirm the main zipper closes without pressure; if it does not, compare a pack with a wider main opening or a deeper body. | A pack can have enough total volume but still fail if the laptop sleeve or narrow opening forces you to stack items awkwardly, which wastes space and can damage gear. |
| You want one pack for short hikes and city errands. | Pack your hiking load first (water, snack, light layer, small first-aid pouch) and measure it, then add a city errand item like a book or a small purchase; choose a capacity that fits the larger of the two loads with a little spare room. | Dual-use packs often get compared by their smallest load, but the larger load reveals whether the pack will stay comfortable and organized when you use it for both activities. |
| You often buy groceries or supplies on the way home. | After packing your daily gear, place a folded tote bag and a few medium items into the main compartment; if they do not fit, look for a pack with compression straps that can expand or consider a slightly larger capacity. | Unplanned purchases are common, and a pack that cannot handle them forces you to carry items by hand, which defeats the purpose of a daypack. |
Common Issues
- The pack feels too small even though the label says it is the right size.: Remove all items and measure the main compartment interior; compare that usable volume with the volume of your packed gear. If the main compartment is smaller than your load, the label is misleading for your needs. Focus on interior shape and opening width, not the printed number.
- The pack is large enough but items shift and rattle while you walk.: Use packing cubes or stuff sacks to group small items, and tighten compression straps to reduce empty space. A pack that is slightly too large can still carry well if you stabilize the load. Check that the heaviest items sit close to your back and do not slide around.
- You cannot reach your phone or water bottle without taking the pack off.: Reorganize your gear so quick-access items go into side or hip pockets, or choose a pack with a different pocket layout. If the pack is already owned, add a small pouch to the shoulder strap for your most-used items. Test access while wearing the pack before your next trip.
Advanced Tips
- Weigh your packed load on a kitchen scale and compare that weight with the pack's empty weight; a light pack with a heavy load can still feel uncomfortable if the straps are too thin.
- Use a compression stuff sack for soft items like jackets or fleece; it reduces volume and keeps the pack from bulging, which makes capacity comparison more accurate.
- When comparing two packs, swap the same gear between them and carry each for five minutes; this removes guesswork and shows which shape distributes weight better for your body.
Final Checklist
- Measure your daily load and your longest-trip load, and write down both volume estimates before comparing packs.
- Check the main compartment opening and interior depth; make sure your largest item slides in and out without forcing.
- Test quick access to phone, keys, and water bottle while wearing the loaded pack, not just while it sits on a table.
- Wear the fully loaded pack for at least ten minutes and adjust straps; if you feel pressure points, try a different size or shape.
FAQ
How do I compare daypack capacity if I cannot visit a store?
Measure your packed gear at home and compare that volume with the interior dimensions listed by the maker, if available. Then read return policies and choose a seller that allows you to send the pack back after testing it with your own items. Focus on main compartment shape and opening size, because those details affect usable space more than the total label.
Is a larger daypack always better for carrying more?
No. A larger pack can encourage overpacking and may shift weight away from your back, which makes it less comfortable. Choose the smallest capacity that fits your usual load plus a small buffer. If you occasionally need more space, use compression straps or a removable daypack that can attach to a larger bag.
What should I check if two daypacks have the same capacity number?
Compare the main compartment dimensions, opening width, and pocket layout. Pack the same items into each pack and see which one closes more easily and carries more comfortably. Also check the strap design and back panel, because comfort can differ greatly even when the volume number is identical.