Packable Layer For Day Walks
A practical step-by-step guide to packable layer for day walks, including preparation, instructions, common issues, tips, and next steps.
Packable Layer For Day Walks
A packable layer for day walks is the clothing item you carry in or on your pack and add or remove as your body heat, the weather, and the terrain change. The goal is not to own one magic garment, but to build a small, light system that fits your usual walking day. Choose pieces that pack small, dry quickly, and layer easily over what you already wear, so you can stay comfortable without stopping for long.
Fast Answer
- Carry one light insulating mid layer that packs into its own pocket, and add a thin wind or rain shell so you can adjust warmth and weather protection in seconds.
- Practice adding and removing your layers during a short walk near home before you trust the system on a longer or more remote route.
Before You Start
- Check the day's expected temperature range, wind, and rain chance, then choose layers that cover the cooler and wetter end of that range rather than the average.
- Lay out your base layer, mid layer, and shell together and put each one on over the others to confirm they fit without pinching or restricting your arms.
- Test that every layer packs into your bag or its own pocket and that you can reach it while wearing your pack, because you may need to adjust while walking.
- Tell someone your route and return time, and carry a small dry bag or plastic bag so a wet layer cannot soak the rest of your gear.
Step-by-Step Instructions
Start with a dry, comfortable base layer
Begin by choosing the layer that sits against your skin, because everything else works better when this one is right. Pick a thin top made of a material that moves sweat away from your body and dries quickly, rather than cotton, which holds moisture and can feel cold when you slow down. Put it on and check that it allows a full arm swing and does not bunch under your pack straps. Then walk briskly for a few minutes indoors or outside to see how damp it feels. This matters because a wet base layer pulls heat from your body when you stop, so a dry, fast-drying base keeps you warmer with less bulk. Pack one spare base layer for longer or cooler walks if your bag has room.
Add a light insulating mid layer
Now add the layer that traps warmth, which is the piece you will remove most often during a walk. Look for a thin insulated top or a light fleece that fits over your base layer with a little room for air, because trapped air is what keeps you warm. Zip it up, raise your arms, and bend forward as if climbing a step; if it rides up or pulls across your back, try a different size or cut. Check that it packs into its own pocket or stuffs small enough to sit near the top of your bag. This check matters because a mid layer you can grab and stow in seconds is far more useful than a warmer one that is awkward to manage. For cold or slow walks, a slightly thicker mid layer may suit you better than a thin one.
Choose a shell for wind and rain
Add an outer shell that blocks wind and sheds light rain, because wind strips warmth quickly even when the air is mild. Choose a thin, packable jacket with a hood, a full front zip, and a way to tighten the cuffs and hem. Wear it over your other layers and check that the sleeves cover your wrists when your arms are forward and that the hood stays up in a breeze. Test the zip with cold or wet hands, since you may need to open it while walking. This check matters because a shell that flaps, leaks at the cuffs, or is hard to fasten will be left in your bag when you actually need it. If heavy rain is likely, add waterproof trousers and a way to keep your bag contents dry.
Pack the layers where you can reach them
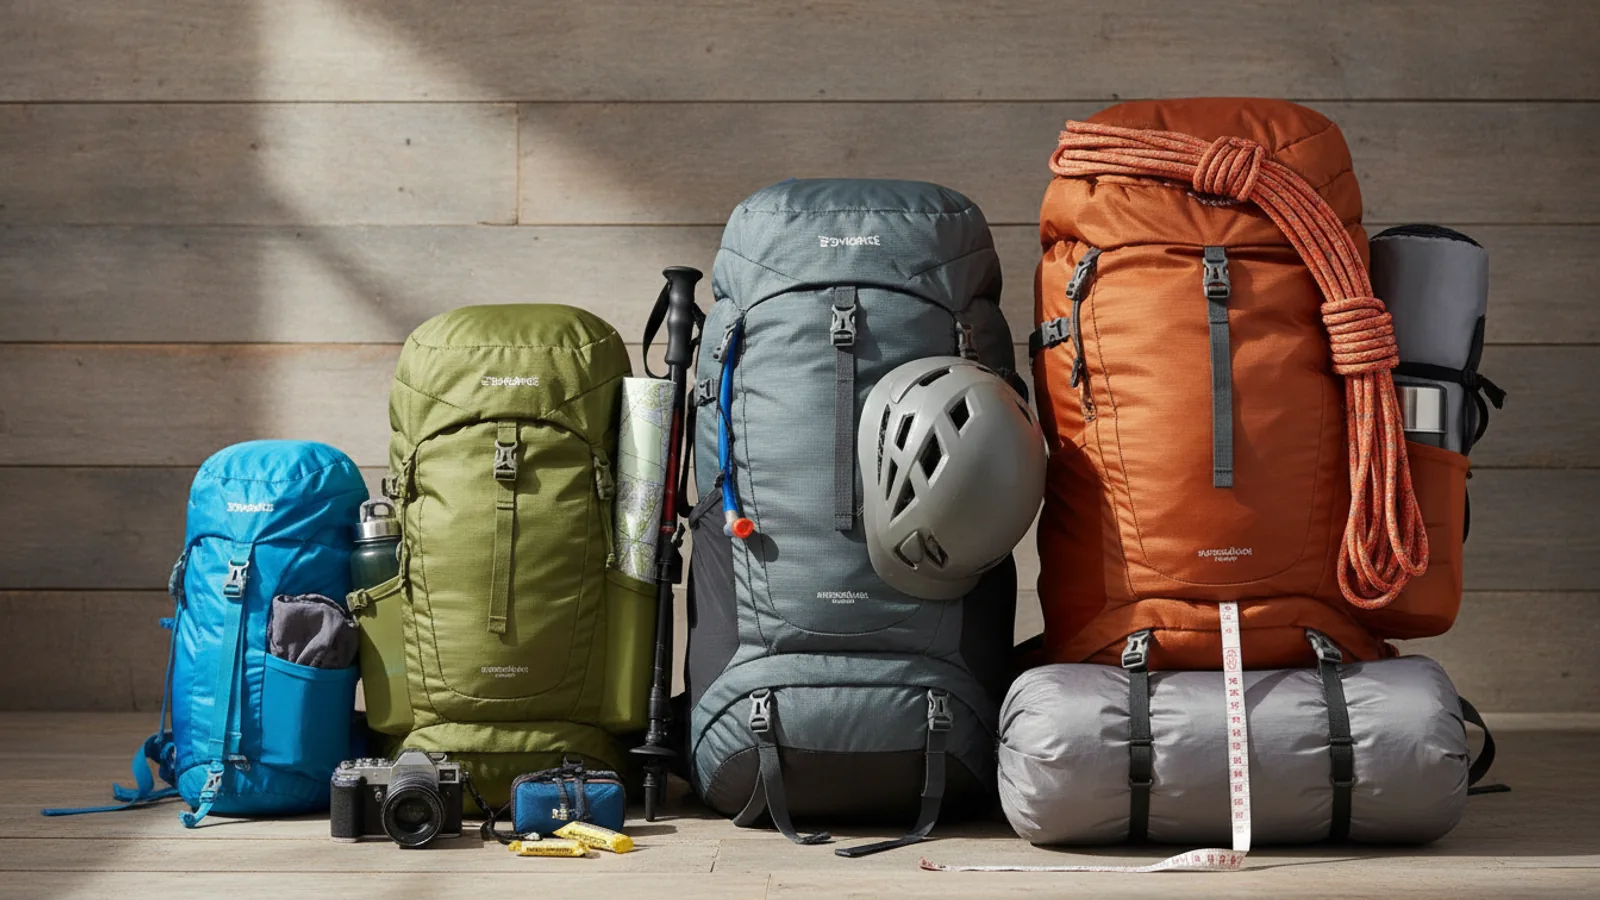
Place your layers in your bag so you can get to them without taking the bag off, because conditions change faster than most people expect. Put the shell in an outer pocket or under the top lid, and keep the mid layer in a side or top area you can open one-handed. Use a small dry bag or plastic bag for anything that must stay dry, and keep a wet layer away from your spare clothes. Then put your pack on and try reaching each item while walking a few steps and while standing still. This check matters because a layer you cannot reach in comfort becomes useless the moment your pace slows and you start to cool. If your bag has no outer pocket, attach the shell with a strap you can open without unclipping your whole pack.
Adjust layers as you walk
Use a simple rule while walking: start slightly cool, then add a layer before you feel chilled and remove one before you become sweaty. At a sheltered stop, take off your pack, add or remove one layer at a time, and close or open vents and zips as needed. Check your comfort every twenty minutes or so, and pay attention to your hands, neck, and back, which often signal heat loss first. This sequence matters because overheating leads to sweating, and sweat then cools you quickly when you slow down or stop for a break. Adjusting early in small steps keeps your body temperature steadier than waiting until you are very cold or very hot. If you stop for more than a few minutes, add a layer before you sit down, not after.
Finish with a dry, packed system
At the end of the walk, take out every layer and check which ones are damp, dirty, or damaged. Hang or spread damp items to dry as soon as you can, and turn pockets inside out so trapped moisture can escape. Look at zips, seams, cuffs, and the hood for wear, and note anything that needs repair before your next walk. Repack the layers you will carry again, and replace any spare base layer you used with a dry one. This routine matters because a layer packed away wet can stay damp, smell, and lose its ability to keep you warm on the next outing. A short check now saves a cold, uncomfortable surprise later. Store your system together so you can pick it up and go without rebuilding it each time.
Quick Reference
| Situation | Action | Why it helps |
|---|---|---|
| You feel warm and start to sweat on a climb. | Stop in a sheltered spot, open your shell and mid layer, and remove the mid layer if you are still too warm after a few minutes of easier walking. | Sweat cools your body quickly when you slow down, so reducing layers early keeps your clothing drier and your temperature steadier. |
| The wind picks up on an exposed ridge and you feel chilled. | Add your shell first, close the cuffs and hem, put the hood up, and only add the mid layer if you are still cold after a few minutes. | Wind removes warmth from your skin fast, and a shell blocks that loss with little weight, so it is the quickest useful fix. |
| Light rain starts and you are still warm from walking. | Put on your shell without adding the mid layer, keep the front zip partly open, and monitor how you feel over the next ten minutes. | You are already producing heat, so adding insulation as well can make you overheat and sweat inside your rain gear. |
Common Issues
- Your layers feel bulky and restrict your movement.: Try thinner pieces that fit closer to your body, and check that each layer sits smoothly under your pack straps. Remove a layer before you tighten straps, and test arm swings and bends so nothing pulls across your back or shoulders.
- You overheat soon after adding a layer.: Remove one layer at a time and open vents, zips, and cuffs before removing more. Slow your pace briefly and check again in a few minutes, because your body may need time to adjust after a climb or a change in effort.
- A wet layer soaks your spare clothes or makes you cold.: Pack each damp item in its own small dry bag or plastic bag, and keep it away from dry spares. At a stop, wring nothing forcefully; instead, change into a dry base layer, then put the wet item back on only if you still need warmth.
Advanced Tips
- Weigh and pack your full layer system at home, then carry it on a short local walk to learn exactly where each piece sits and how fast you can reach it.
- Use a thin neck gaiter or a light hat as part of your system, because small areas like the neck and head lose heat quickly and are easy to add or remove.
- Before a longer walk, practice a two-minute layer change at a bench or wall so the movement becomes automatic when you are tired or the weather is poor.
Final Checklist
- Base layer, mid layer, and shell are packed and you can reach each one without removing your pack.
- You have checked the day's temperature, wind, and rain chance and chosen layers for the cooler and wetter end.
- Damp items have their own dry bag, and you carry one spare dry base layer for longer or cooler walks.
- Zips, seams, cuffs, and the hood are sound, and you have a small repair patch and spare zip pull in your bag.
FAQ
How many layers should I carry for a day walk?
For most day walks, carry three: a thin base layer you wear, a light insulating mid layer, and a packable shell for wind and rain. In warm, dry conditions you may leave the mid layer at home, and in cold or wet conditions you may add a spare base layer or waterproof trousers. The right number is the one that lets you adjust in small steps without carrying a heavy bag.
When should I add or remove a layer?
Add a layer before you feel properly cold, and remove one before you start to sweat heavily. A good habit is to check your comfort every twenty minutes and at every stop. If you are about to sit down for a break, add a layer before you stop, because your body cools quickly once you are still and the wind can reach you.
What should I do if my layer gets wet?
Keep it away from your dry clothing by packing it in its own small dry bag or plastic bag. At a sheltered stop, change into a dry base layer first, then decide whether the wet layer is still useful over the top. Dry your gear fully at home, and check zips and seams before you pack it for the next walk.